.Net and Docker

hosting dotnet in docker is really easy, lets look how.
- Pre-Req
- Step 1 - code
- Step 2 - Compiling a docker image
- Step 3 - publishing
- Step 4 - install and run.
Using Mono, we can take advantage of both linux and docker, which equals some really exciting stuff. In this post we will take a C#, .NET 4.6 and Nancy “hello world” example and run this in a docker container.
Pre-Req
for this example, the following tools are being used (replace with your tools of choice)
- VS Code or Studio - to edit source code and compile
- Docker 1.7 + (im using vagrant box-cutter/ubuntu1404-docker image)
- Docker Hub
- Servers with docker on them (I like to use Rancher, as it makes this far easier to work with)
Step 1 - code
Docker containers are designed to run a process and exit when they are complete. In our case we want a blocking application.
- Create a normal console line application, using .NET 4.6 (for now im using full .NET), I callled it “TestMvc.Host”
- Add a reference to NancyFX (make sure you get the latest)
- write your code, note that when you start your host, that you block the main thread using Thread.Sleep.
- Compile your code (you can compile using Mono or MS .NET),
static void Main(string[] args)
{
    Console.CancelKeyPress += (sender, eventArgs) =>
    {
        Console.WriteLine("exiting...");
    };

    Console.WriteLine("About to start server");
    using (var host = new NancyHost(new Uri("http://localhost:80")))
    {
        host.Start();

        Console.WriteLine("started, press \"ctrl + c\" to exit");
        Thread.Sleep(Timeout.Infinite);
    }
}
The sample Nancy Module in this test app
public class HelloModule : NancyModule
{
    public HelloModule()
    {
        Get["/"] = parameters => $"Hello from {Environment.OSVersion.Platform}";
    }
}
note: the Thread.Sleep is intensional, as it will not cause the container to exit. do not use ReadKey or ReadLine.
note 2: we are hosting our service on port 80.
Step 2 - Compiling a docker image
For this part I cheat a little and use VM setup via Vagrant using the box-cutter/ubuntu1404-docker image.
- Create a new folder, i will call this releaseImage, this will be used to used to
- Copy the compiled filed into the new releaseImage, all the dll’s and exe.
- Create a file called “Dockerfile” no extension, if you do this in VS code it will supply some level of syntax support.
Dockerfile
FROM mono
COPY . /serv
CMD [ "mono",  "/serv/TestMvc.Host.exe" ]
EXPOSE 80
what we are doing here is creating a new image, which uses the “mono” as the base. We copy all the files from current folder on the HOST machine (releaseImage) into a folder called serv in the container image. it finishes off by letting docker know that a container using this image should run the TestMvc.Host.exe and expose port 80.
- open docker command (I do this by accessing vagrant ssh), remember to run docker login,
- cd into the releasesImage folder
- build the image (replace dbones with your docker hub account)
docker build -t "dbones/testnet" .
- you can confirm this by running docker images command and the new image will be listed. you may also run a container directly off the image.
Step 3 - publishing
once you have built the image, you can run it directly, or publish it, and then you can run it on another computer ( :) ), I want to do the later.
- while in your docker command, and that you have logged into your docker registry (*docker login command), now run the push
docker push dbones/testnet
done. you can goto docker hub and see the image.
Step 4 - install and run.
ok there are a couple of ways, it depends on your setup, i would recondmend looking into a docker orchestrator such as Rancher, kubernetes etc.
A) using pure docker
if you want to run docker directly, no compose or orchestrator, that is not a problem, just follow these instructions.
- on the linux server with docker installed call the following command.
docker run -p 8080:80 -d dbones/testnet
this exposes port 80 of the container on port 8080 on the host pc, to test this
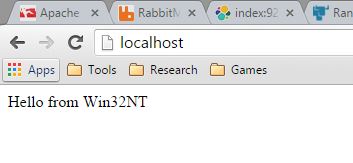
- curl http://0.0.0.0:8080 and it would access your site
- docker ps would list all active containers on the server, our container should be listed.
B) using Rancher UI
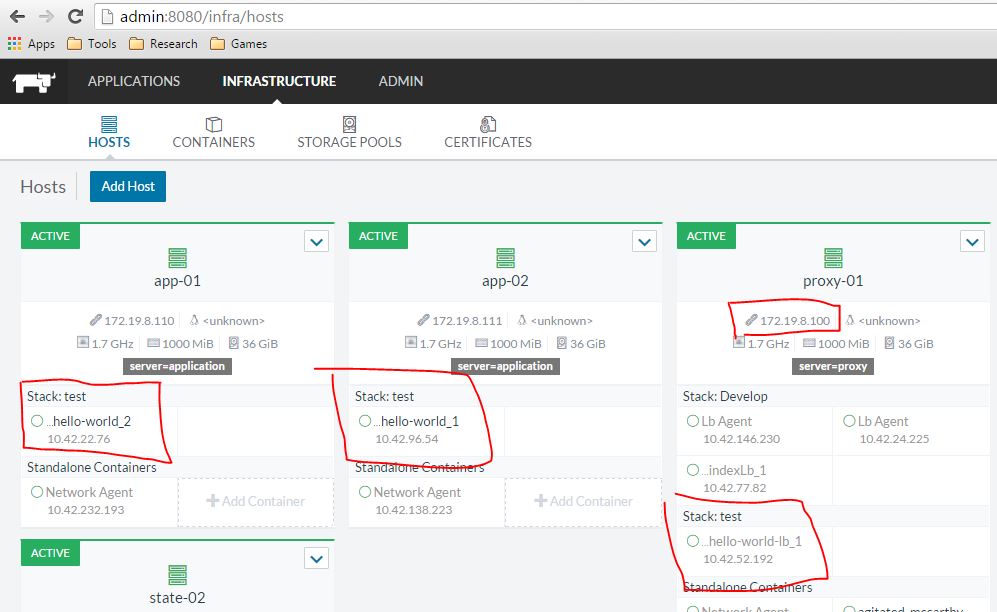
this assumes we have the following setup:
- 2 servers with a label of server=application and
- 1 server with a label of server=proxy
in this setup we access the Nancy application through a load-balancer
- create a stack called test
- copy the following into the docker-compose.yaml and docker-compose-yaml boxes.
docker-compose.yaml
hello-world-lb:
  ports:
  - 80:80
  labels:
    io.rancher.scheduler.affinity:host_label: server=proxy
  tty: true
  image: rancher/load-balancer-service
  links:
  - hello-world:hello-world
  stdin_open: true
hello-world:
  labels:
    io.rancher.scheduler.affinity:container_ne: hello-world
    io.rancher.scheduler.affinity:host_label: server=application
  tty: true
  image: dbones/testnet
  stdin_open: true
rancher-compose.yaml
hello-world-lb:
  scale: 1
  health_check:
    port: 42
    interval: 2000
    unhealthy_threshold: 3
    healthy_threshold: 2
    response_timeout: 2000
hello-world:
  scale: 2
  health_check:
    port: 80
    interval: 2000
    unhealthy_threshold: 3
    request_line: GET / HTTP/1.0
    healthy_threshold: 2
    response_timeout: 2000
- click on the play buttons.
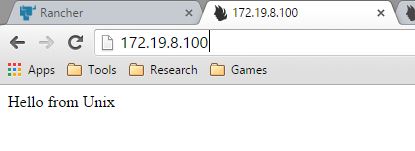
you will now see that we have 3 containers deployed and running and that we can access the site through the proxy server.


